The ‘No Rad’s Step by Step Guide for RF Home Protection’ guide will help you choose the right protection, install it and use it the right way.
The purpose of this guide is to allow people that understand and acknowledge the possible health effect of RF exposure, or already suffer from EHS, to protect their house from incoming RF from cell towers and other environmental sources, or neighbors.
The following steps should be done one after the other, in the order of operation below.
Before using RF Protection on and in your house, we expect that you already found and removed any RF emitting devices inside, and stopped using your cell/smartphones inside the house.
In the following guide, we tried to summarize the operation and to explain it in the clearest and shortest way. We hope you will be able to follow the steps as quickly as possible. The guide was written based on over 10 years of experience in applying for RF protection, guiding people in the installation process, EMF measurement and EMF exposure reduction.
For a more comprehensive explanation about RF protection, please see the RF Protection (need to add link) page on this site.
If you have any questions, please contact us at norad4u@gmail.com .
Step 1 – Stop using wireless devices and reduce exposure to any in-house RF radiation
Press here for a step by step guide for exposure reduction
Please see Exposure Reduction main page on this site
After the Protection is completed, it is not recommended to use wireless devices inside the protected area because of more possible reflections.
Step 2 – Stop the use of cellphones and smartphones in the protected area.
In the case of wireless devices that need reception from outside, such as cell phones or smartphones, the reception will be reduced, and the level or RF emitted from these devices might increase.
For more info see the “Using smartphones” on this site (need to add link).
Step 3 – Scan the house for more RF sources
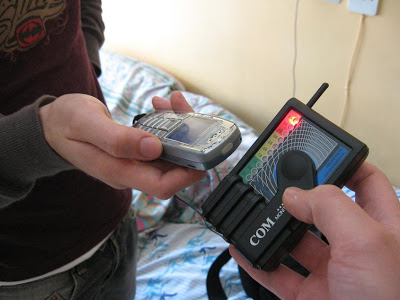
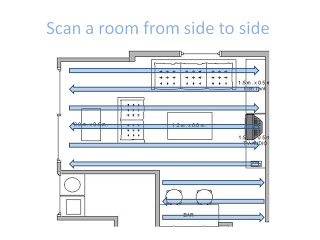
Scan the house in order to find additional RF sources you are not aware of.
Step 4 – Scan and find RF penetration points
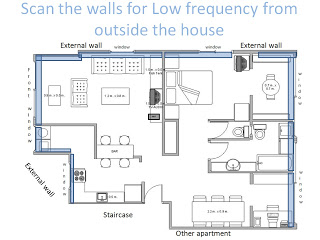
Measure the RF radiation on all the walls and windows, floor and ceiling in order to find the penetration points.
In the case of RF coming from outside (depending on the building material) usually, more RF will come in via the windows, than from the walls. If your neighbors use RF emitting devices, some RF is expected to come in via walls, floor, and ceiling.
Step 4A – Measure the windows and opening
Measure the RF levels in all the windows and openings.
In most cases, this is where you will see the highest levels.
Write down the levels coming in from the windows and walls. Later on, we’ll decide which protection to use and were based on these measurements.
According to the levels, we will try to predict what will be the level after protection is installed, taking into consideration that every layer of protection will bring the RF levels down in by 90-95%. If the levels are high, we might need to use several layers.
For example, if the RF level in the window is 100mW/m2, one layer will take it down to 10 to 5 mW/m2, which is not low enough (in my opinion). Therefore we might need a second and third layer to lower it further. The first layer can be a windows film, the second some curtains.
Step 4B – Measure the walls next to the windows (external walls)
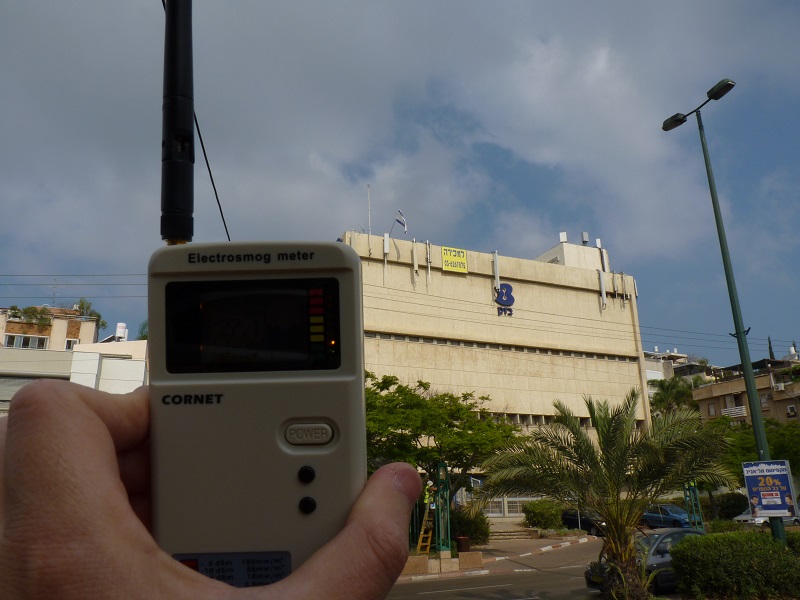
If the RF radiation passed also via the wall, we might consider larger curtains that will also cover the walls.
Another RF protection for walls is the wallpaper or the RF Blocking paint for external walls (should be painted on the outside).
A Concrete wall should block 90% of the RF
Blocks wall should block approximately 50% of the RF.
A Wood wall should block 0-50% of the RF depending on the type of wood, thickness, and dryness.
Drywall, Glass, plastic shades should block about 0% of the RF.
Metal shades should block about 99% of the RF.
Step 4C – Measures in the center of the rooms and where people are at
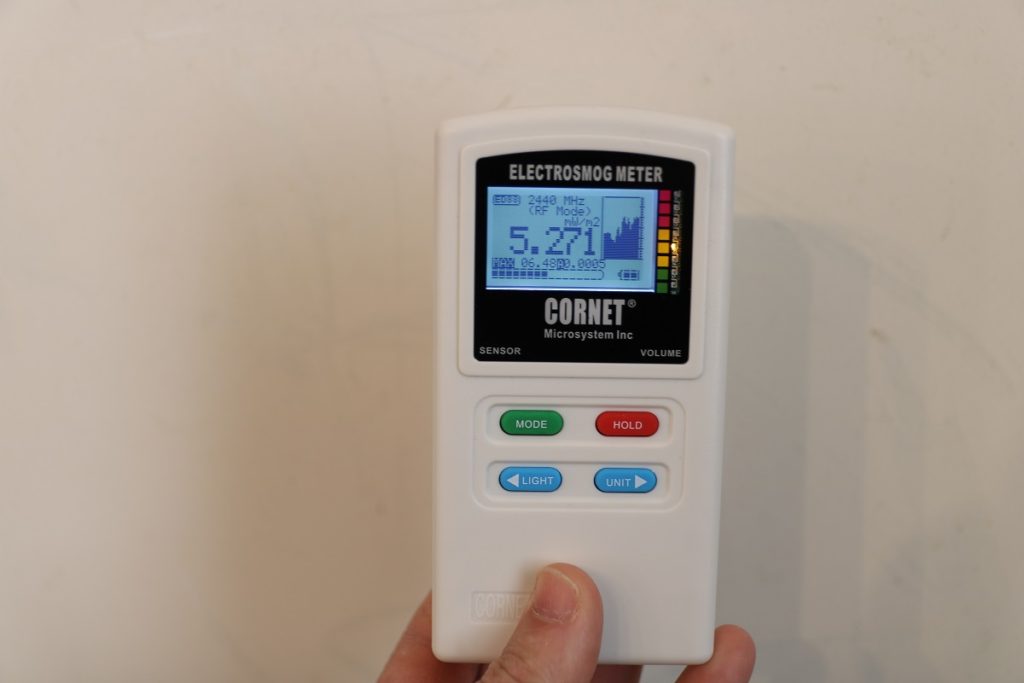
This measurement should be done in order to serve as the “Before Reference” and to understand how much the RF penetration affects the room.
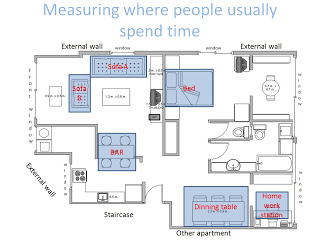
Step 5 – repeat the measurements several times
Repeat the measurements over different days and different hours until the pattern of the RF radiation is clear.
| Mon 10:00 | Mon 12:00 | Mon 16:00 | Mon 20:00 | Sat 14:00 | Sun 14:00 | |
| TP1 | ||||||
| TP2 | ||||||
| TP3 | ||||||
| TP4 | ||||||
| TP5 |
Step 6 – Review the levels according to the so-called safety standards and your understanding of acceptable levels.
Our recommendation is to start protection (if you already reduced exposure and stopped using RF devices inside the house) if the Rf level is above 0.04mW/m2 (0.004uW/cm2). While ICNIRP so-called safety standards is between 4000-10000 mW/m2( 400-1000 uW/cm2).
Our recommendations:
None EHS – start using protection at 0.04mW/m2
EHS – start using protection even at levels lower than 0.04mW/m2. Try to live in levels lower than 0.0005mW/m2.
Step 7 – Use RF protection windows film
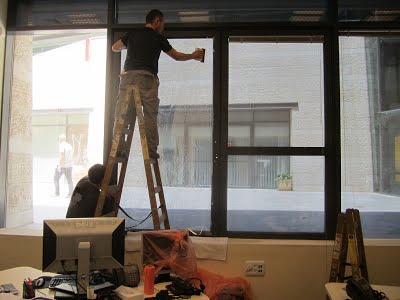
Usually, this is the cheapest and simplest way to protect, and it is usually the first type of RF protection used. The film is ordered and then installed over the window. You can Do It Yourself, but in order to get the best result, we suggest to order the film and find a professional to install it.
See RF protection film in the ‘RF Protection’ page on this site. (need to add link).
RF tests should be done before, during and after the installations.
Please see out store for this item.
Step 8 – Windows and walls protection using curtains
The second type of RF protection to be used in a house is usually curtains. They are usually used as a second layer over the windows and/or walls. Curtains are easy to install (all you need is to fix the bar holding it) and can be moved from one apartment to the other when & if needed.
Please note that the size of the curtain should be larger than the protected area, in order to allow the curtain to have lots of waves. The more waves it has, the less reflective it will be.
RF tests should be done before, during and after the installations.
Please see out store for this item.
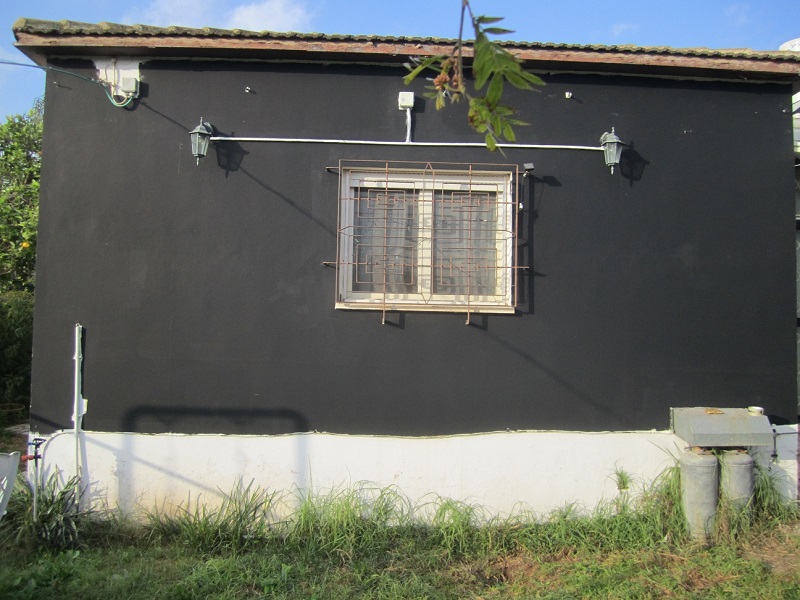
Step 9 – RF Blocking paint on the outside of external walls
The paint should be applied to the outside of the external walls. It is possible to apply several layers. Each layer will block more than 95% by reflection. If you mistakenly use the paint on the inside of the house, you can cause more reflections in the house. These reflections might be reduced if using RF Blocking wallpaper as a second layer.
Grounding infraction should be applied before the paint (connect it to the real ground, not to the electric ground).
RF tests should be done before, during and after the installations.
Please see out store for this item.
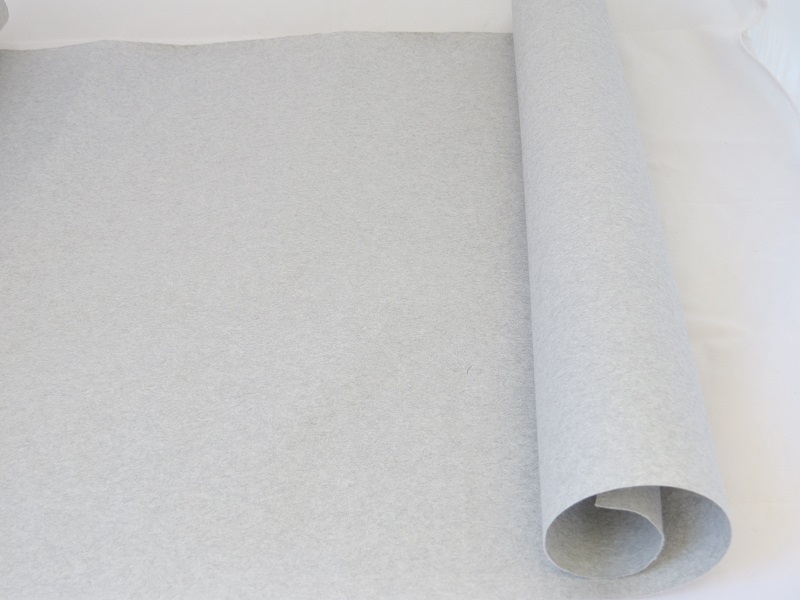
Step 10 – RF Blocking wallpaper on the inside of walls
Internal walls are best to be protected by RF Blocking wallpapers. These are less reflective than paint.
Grounding infrastructure should be installed before the wallpaper installation is done, between the wall and the wallpaper (connect it to the real ground, not to the electric ground). The wallpaper should be glued using a water-based glue (test first on a small surface to make sure the glue does not damage the wallpaper or the wall).
After the wallpaper dries, it should be sealed by painting over it with a water-plastic based paint or drywall.
In cases where the RF levels are very high, it is possible to paint the wall with several layers of RF Blocking Paint before installing the wallpaper.
RF tests should be done before, during and after the installations.
Please see out store for this item.
Step 11 – Using Canopies
If after using RF protection you still have unacceptable RF levels in your sleeping room, you can use RF Blocking canopies to reduce your exposure while sleeping.
Mostly used by EHS people.
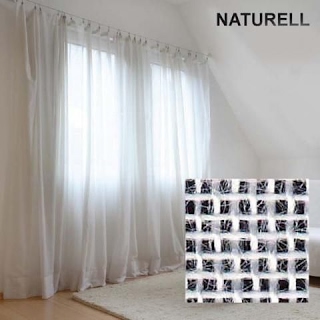
We recommend the use of the Naturell fabric.
Please note that some people report that canopies “saved their lives”, while others report that they can’t stand it and can’t be inside for more than a few minutes. This can be due to reflections, inside EMF, too high levels of RF penetrating the fabric or coming into the canopy from openings and gaps, person sensitivity to the fabric, ELF fields, and other reasons. So please be 100% sure before ordering canopies, and remember that on this item there is usually no money-back guarantee.
Make sure you order also the carpet.
After installation measure RF and ELF inside and outside the canopy,
Don’t get any EMF or RF emitting devices inside (cellphone, laptops…).
Please see our store for this item.
Floor Mat on our store…
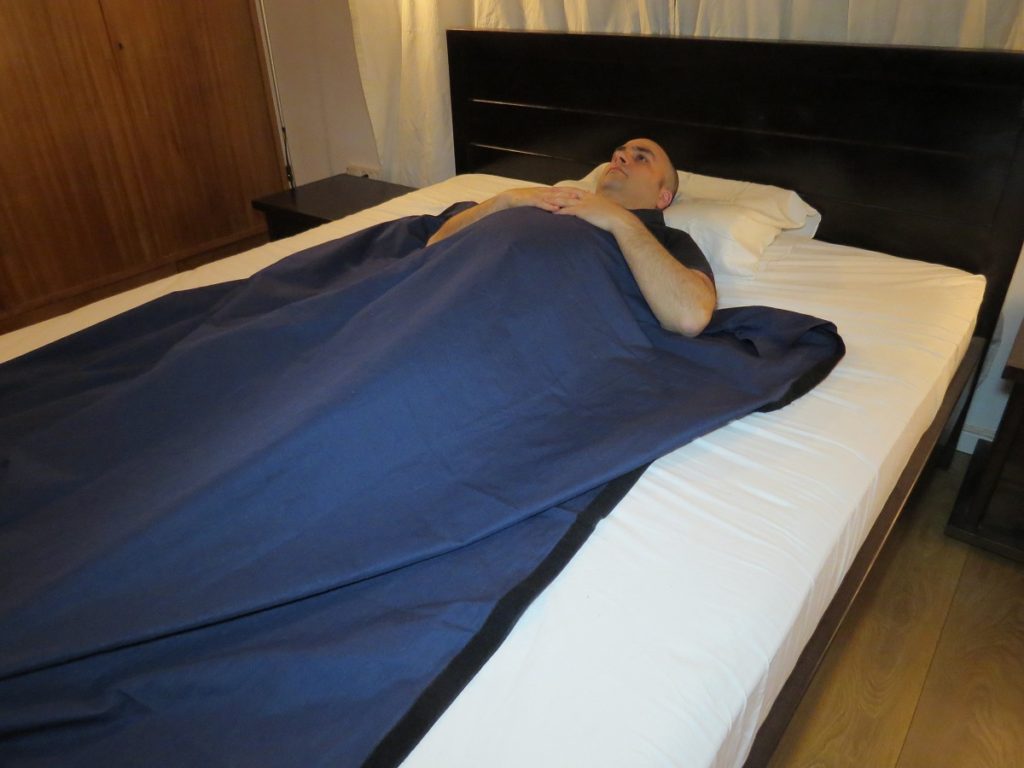
Step 12 – RF Protection Blanket/Sleeping bag
Another “last chance” protection for the bedroom is the RF Protection Blanket/sleeping bag. As a last resort, this can be very effective. Cheaper and easy to travel with than the canopy. Made out of very durable RF Blocking fabric and can be used as a blanket or a sleeping bag (for thin people) . Usually used by EHS people.
Please see out store for this item.
Step 13 – Redo the RF measurements
Redo the RF measurements before, during and after every step of the protection process. At least until you feel comfortable with the level. Re-measure again every few days, weeks or months, just to make sure nothing was broken or changed with the protection and to make sure it is still working properly.
Do more tests to understand how and when the protection is blocking the RF. For an example of how much RF penetrates a protected window when closed and when opened. The same with an open and closed curtain.
Step 14 – Don’t use RF emitting devices inside protected areas.
Remember this could lead to reflections and more exposure to RF radiation.
Please see also the
ReedProf – CRMLA
